Outlook express
From Wiki CEINGE
(Difference between revisions)
| Revision as of 10:52, 21 June 2007 (edit) Vittorio (Talk | contribs) ← Previous diff |
Revision as of 10:55, 21 June 2007 (edit) (undo) Vittorio (Talk | contribs) Next diff → |
||
| Line 14: | Line 14: | ||
| # Click the Servers tab and verify the following settings: <br> - Outgoing mail (SMTP): '''mailsend.ceinge.unina.it''' <br> - Password: leave blank <br> - Remember password: unchecked <br> - My server requires authentication: checked or not | # Click the Servers tab and verify the following settings: <br> - Outgoing mail (SMTP): '''mailsend.ceinge.unina.it''' <br> - Password: leave blank <br> - Remember password: unchecked <br> - My server requires authentication: checked or not | ||
| - | - If you have checked the authentication, click the Advanced tab and enter the following information for outgoing mail under the Server Port Numbers area:<br> - Outgoing mail (SMTP): | + | - If you have checked the authentication, click the Advanced tab and enter the following information for outgoing mail under the Server Port Numbers area:<br> - Outgoing mail (SMTP): 25 <br> <br> - This server requires a secure connection (SSL): checked <br> - To leave messages on the server (Optional): Click the Advanced tab and enter the following settings: <br> - In the Delivery area, check the box for Leave a copy of messages on the server.<br> - If this is your primary computer, include a number of days in the Remove from server after _ days field. The mail stays on the server for a given number of days, during which time you can access previously-read messages on your secondary computer. |
Revision as of 10:55, 21 June 2007
Configuring Outlook Express.
- Start Outlook Express.
- On the Tools menu, click Accounts.
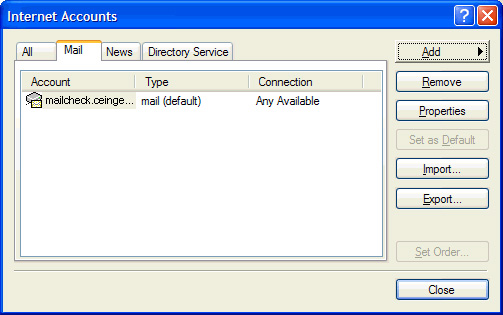
- Click the Mail tab.
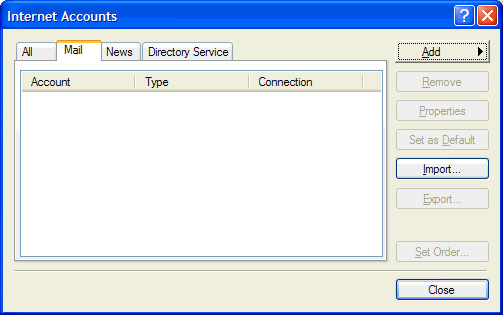
- Click the Add button and select Mail from the list.
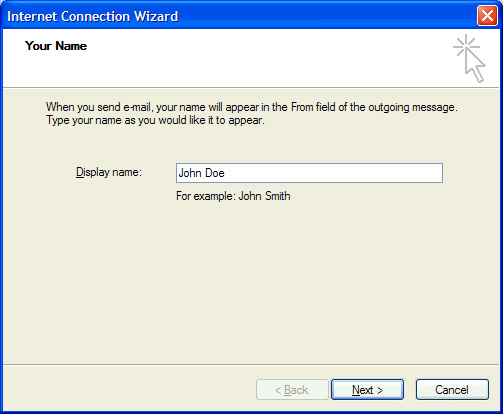
- Enter your name as you want it to appear in the From field on the messages you send. Click Next to continue.
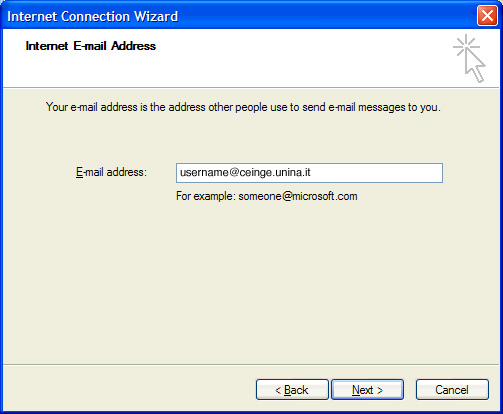
- Enter your CEINGE email address and then click Next.
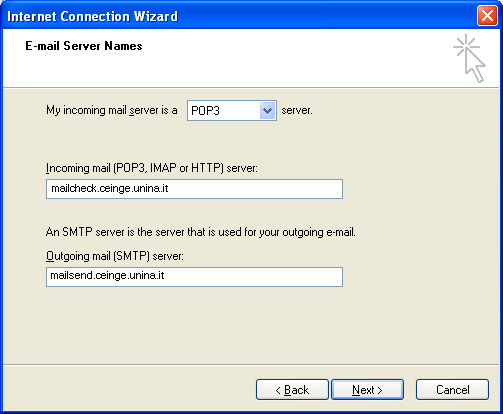
- In the E-mail Server Names window, enter the following values and then click Next:
- incoming mail server is a POP3 or IMAP protocol (with POP3 protocol you download locally E-mails that are stored in CEINGE mail server , IMAP is an application layer Internet protocol that allows a local client to access e-mail on a remote server).
- Incoming mail (POP3, IMAP) server: mailcheck.ceinge.unina.it
- Outgoing mail (SMTP) server: mailsend.ceinge.unina.it
- In the Internet Mail Logon window, enter the following values and click Next:
- Account name: your CEINGE username
- Password: leave blank
- Remember password: unchecked
- Log on using Secure Password Authentication (SPA): unchecked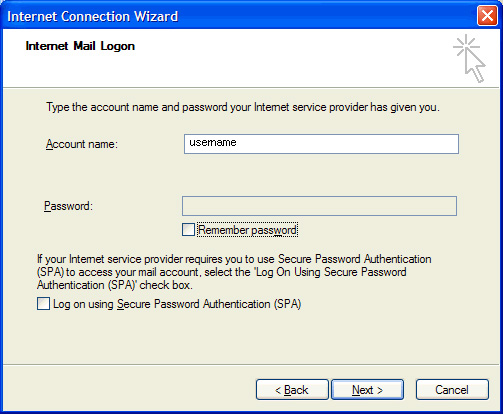
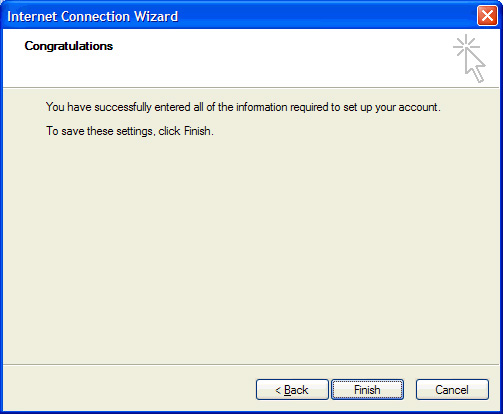
- Click Finish to save your selections.
- Select the account you just created and click the Properties button
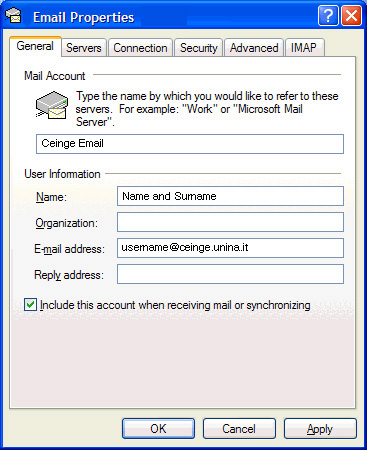
- With the General tab selected, change the Mail Account name to something more meaningful to you, such as Ceinge Email.
- Click the Servers tab and verify the following settings:
- Outgoing mail (SMTP): mailsend.ceinge.unina.it
- Password: leave blank
- Remember password: unchecked
- My server requires authentication: checked or not


- If you have checked the authentication, click the Advanced tab and enter the following information for outgoing mail under the Server Port Numbers area:
- Outgoing mail (SMTP): 25
- This server requires a secure connection (SSL): checked
- To leave messages on the server (Optional): Click the Advanced tab and enter the following settings:
- In the Delivery area, check the box for Leave a copy of messages on the server.
- If this is your primary computer, include a number of days in the Remove from server after _ days field. The mail stays on the server for a given number of days, during which time you can access previously-read messages on your secondary computer.
